Not long ago, having your TV installed was often part of the purchase. Today, most retailers treat installation as a separate service, and charge extra for it. At the same time, many people who already have their TV sitting on a media console hesitate when it comes to mounting it on the wall.
That hesitation is understandable. Mounting a TV can feel intimidating if you’ve never done it before. There’s the worry about getting it perfectly straight, the fear of damaging the TV or drilling into hidden wiring, and, of course, the natural tendency to put off a task that feels unfamiliar.
But things have changed, not just in how TVs are sold, but in how living rooms are designed. More and more homes are moving toward a clean, minimalist look. Bulky media consoles are being replaced with floating elements or decorative drywall features that aren’t meant to hold a TV at all. In that kind of setup, wall mounting isn’t just an option, it’s often the best solution.
This guide is here to show you that mounting a TV yourself is absolutely doable. With the right preparation and a bit of patience, you can achieve a clean, professional result safely and confidently.
The Equipment
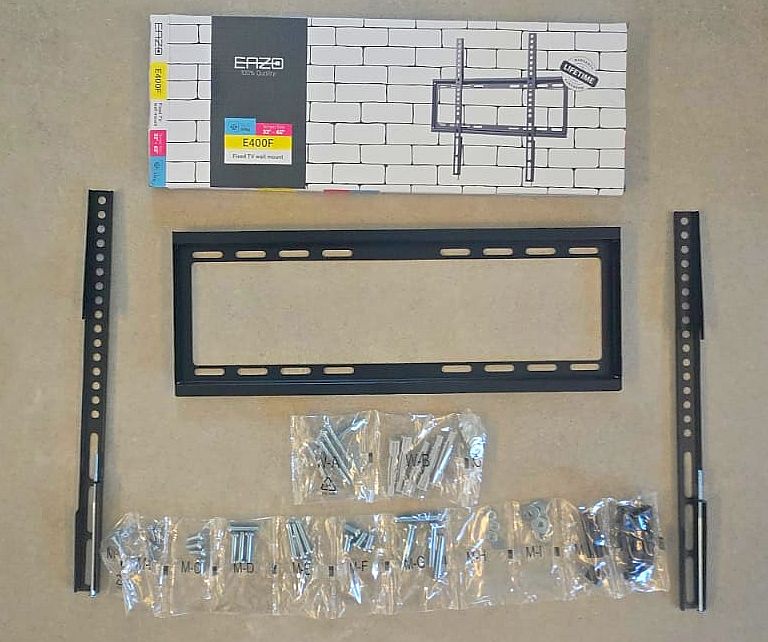
For this walkthrough, we used a 55-inch QLED TV, a very popular size for a typical living room. The wall mount itself was a standard, high-quality kit that came with everything needed: the mounting bracket, heavy-duty wall anchors, matching screws, washers, and a range of screw sizes for attaching the bracket to the TV.
One thing that stood out right away was how generous the hardware kit was. There were more anchors and screws than actually needed, which is reassuring, especially if you misplace a piece along the way.
The variety of screw lengths also serves a purpose. If you choose to use spacers, they allow you to slightly offset the TV from the wall. This small gap can make a big difference later, giving you easier access to cables and ports once the TV is mounted.
Before You Begin
The type of wall you’re working with makes a big difference. This guide assumes a concrete or block wall, which is the most straightforward scenario. If you’re working with drywall, the process may require a bit more attention. You might need specialized anchors, and in some cases, you’ll want to secure the mount directly into wall studs. These can be located using a stud finder or even a strong magnet.
Another key consideration is height. A widely accepted rule of thumb is that when you’re seated, your eyes should align roughly with the upper third of the screen. Getting this right makes a noticeable difference in comfort.
Before drilling anything, it’s important to make sure the area behind the wall is clear. Electrical wires, plumbing, or data cables could be running exactly where you plan to drill. One simple way to get a sense of what’s behind the wall is to remove a nearby outlet cover and observe the direction of the wiring. For added confidence, a stud finder with wire detection is a worthwhile tool.
You should also think ahead about cable access. In many setups, the TV will end up covering the outlets behind it. If you still want easy access after installation, spacers can help by creating a small gap between the TV and the wall. On the other hand, if you’ve already installed an in-wall conduit for cables, often called a “smurf tube”, you can mount the TV flush against the wall for a cleaner look.
Mounting the Wall Bracket
Once you’ve chosen the location and confirmed it’s safe to drill, the next step is positioning the wall bracket. Take your time here, this is where precision really matters.
Use a level to ensure the bracket is perfectly straight. Many mounts include a built-in level, but even if yours doesn’t, using one is essential. After aligning the bracket, mark the drilling points clearly before picking up the drill.
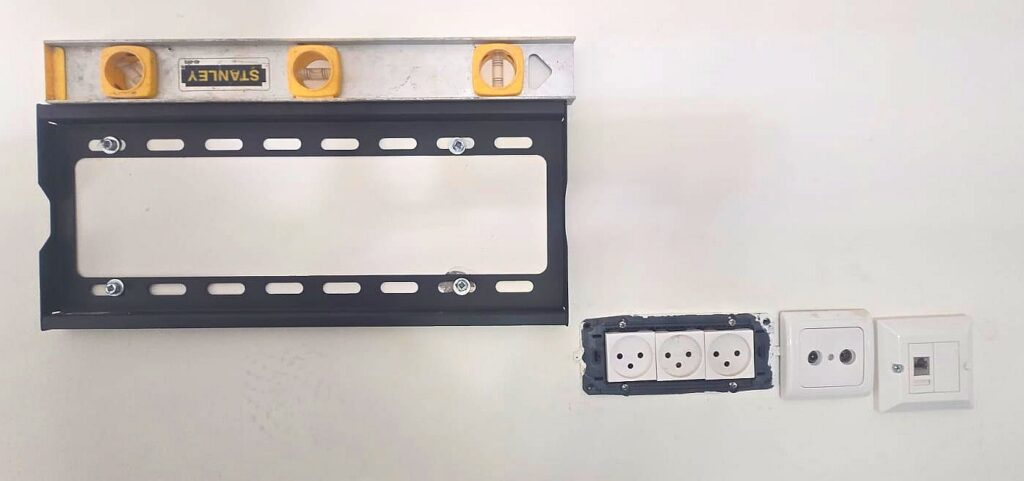
When drilling, match the drill bit size to the anchors provided with your mount. After drilling the holes, insert the anchors and secure the bracket with screws. Tighten them until the bracket sits firmly and flush against the wall, then double-check that everything is still level.
Attaching the Rails to the TV
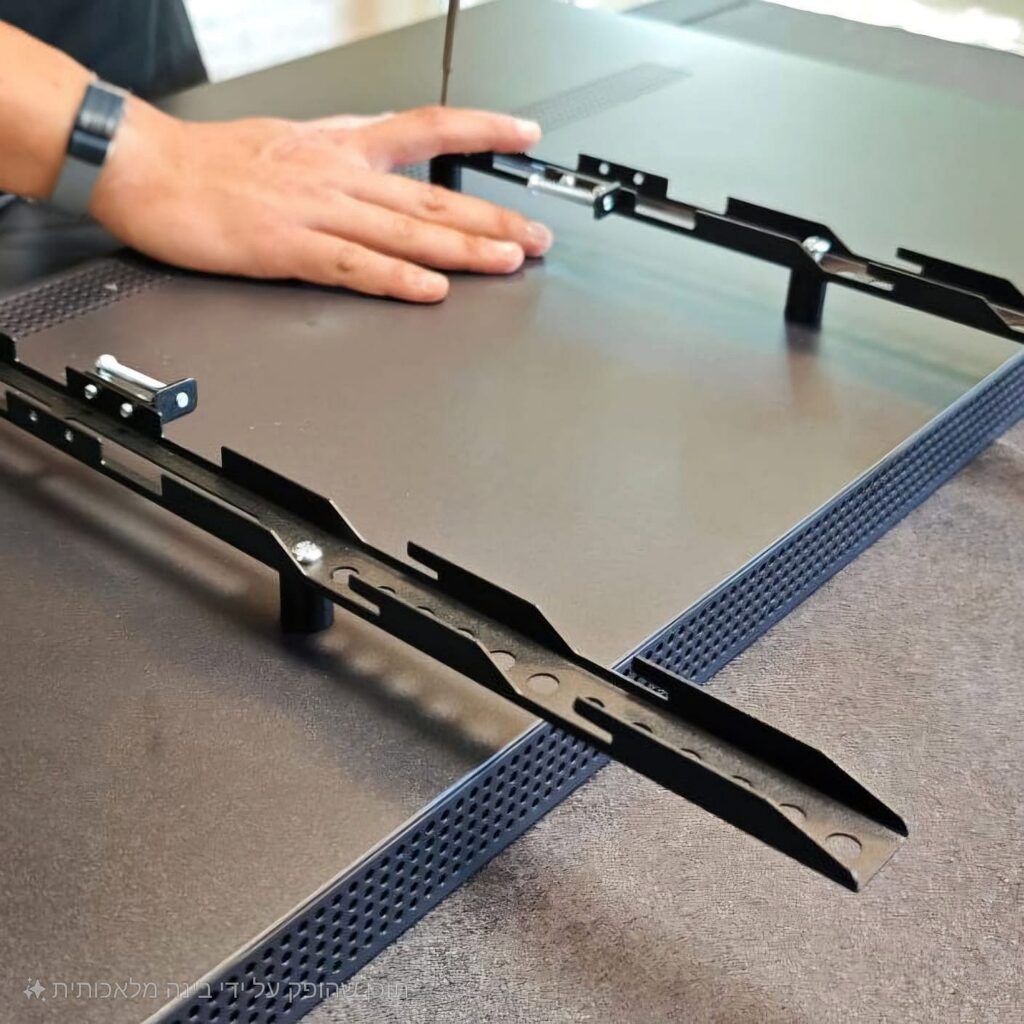
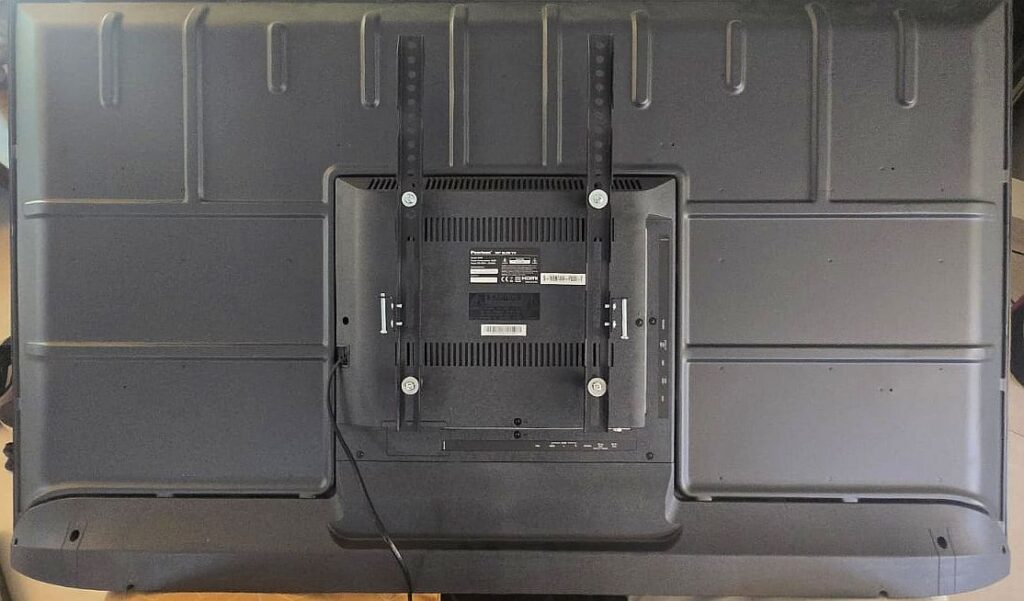
With the wall bracket in place, turn your attention to the TV itself. Attach the vertical mounting rails to the back of the TV using the appropriate screws.
This is one step where it’s better to slow down. Use a manual screwdriver instead of a power drill to avoid applying too much pressure. TVs are delicate, and overtightening can cause damage.
Most mounting rails offer some flexibility in height, usually around 8 inches (20 cm). That built-in adjustment range can save you if your wall bracket placement isn’t perfect, allowing you to fine-tune the final position without drilling again.
Hanging the TV
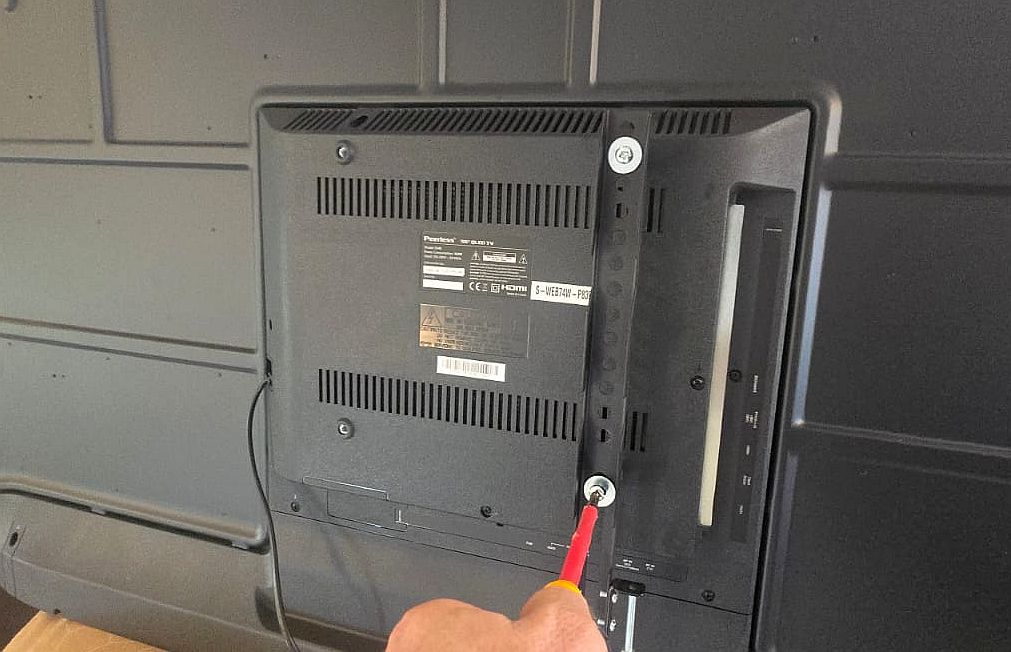
This is the part where having a second person really helps. Lifting and positioning the TV requires control and precision.
Carefully lift the TV and hook the rails onto the wall bracket. Most mounts are designed so the TV “locks” into place and can only be removed by lifting it upward. This design prevents accidental slips and keeps the TV secure.
Before letting go, make sure the rails are fully seated and the TV feels stable.
Final Connections and Adjustments
Once the TV is mounted, all that’s left is to connect your cables: power, internet, antenna, or anything else you use. These connections will be hidden behind the TV, giving you a clean and uncluttered finish.
If you notice the height isn’t exactly where you want it, you can usually make small adjustments by repositioning the rails on the back of the TV, without removing the wall bracket itself.
Final Thoughts
Mounting a TV on the wall might seem like a daunting task at first, but it’s far more approachable than most people expect. With the right tools, careful planning, and a bit of patience, you can achieve a result that looks just as good as a professional installation.
Take your time, work safely, and don’t hesitate to ask for help when lifting the TV. In the end, you’ll not only save money. You’ll also enjoy a cleaner, more modern living space with a perfectly mounted screen.
Good luck!